How hard is The Castle hike?
"Challenging yet rewarding"
This is the description of the Castle Walking Track on All Trails. It does also say it is one of the most challenging hikes along Eastern Australia, and I would tend to agree with that. The difficulty and challenge mostly comes from the fact that you need to pull yourself up a rope on several occasions, as well as wiggle your body in some narrow spaces at times. But I also very much agree with the rewarding part. The feeling and the view you get once at the top are just sensational.

How technical is The Castle hike?
The first 2/3 of the hike or so are not particularly technical. It is mainly a steep hike with a more or less clear trail to follow. You do need to look for white chalked arrows regularly, especially as you get closer to the top.
From the tunnel the hike becomes significantly more technical and there is even a sign from the National Parks and Wildlife Service that states the ropes are not managed or serviced by them and that hikers can decide to continue the hike at their own risk. Actually NPWS do not list this hike as a self guided hike on their website but only as a « guided tour » with an experienced NPWS guide. An option I would recommend if you are not used to scrambling, using fixed ropes and are generally not a very experienced hiker. More information here.

Yadboro Flats
We stayed at Yadboro Flats which is an awesome dog-friendly campground by the river, with enough space for heaps of groups and families to camp there without stepping on each other’s toes. Yadboro Flats actually sits in between national parks and is managed by the Forestry Corporation. It is completely free, you do not need to book a site, and there are toilets (as well as free water from the river!).

There is also a campground literally at the start of The Castle hike called Long Gully which is managed by NPWS, offers toilets and is a great base as well in Budawang National Park.
Getting to the start of the Castle Walking Track
You could very well decide to do the hike over a big day if you are staying on the coast near Mollymook, or towards Termeil and even inland from Braidwood or Bungonia, but since it is a long hike I would advise camping nearby so you can start the hike early.
Important: the road to both Yadboro and Long Gully or The Castle is unsealed and corrugated. It can get slippery and muddy after heavy rain so make sure you check the conditions before heading there if you do not have a 4WD.

From Yadboro Flats it’s a 5km to the start of the hike at Long Gully, but it took us 15min after a few weeks of rain considering how damaged the road was, and we started the hike just before 9am.
Section 1 – Crossing the river
Very soon after you leave Long Gully Campground and start the hike you will need to cross the Yadboro river and, unless the weather has been extremely dry over the last weeks, this will be best done without shoes.
My favorite hot tip for this kind of hikes is to always bring a mini towel with you so you can dry your feet after any water crossing (and otherwise wipe your face or rinse your hands whenever needed!)

After crossing the river you keep following an easy track with occasional views of the Castle, for a bit more than an hour before starting to go up more steeply and eventually reaching the « waterfall »
Section 2 – The waterfalls
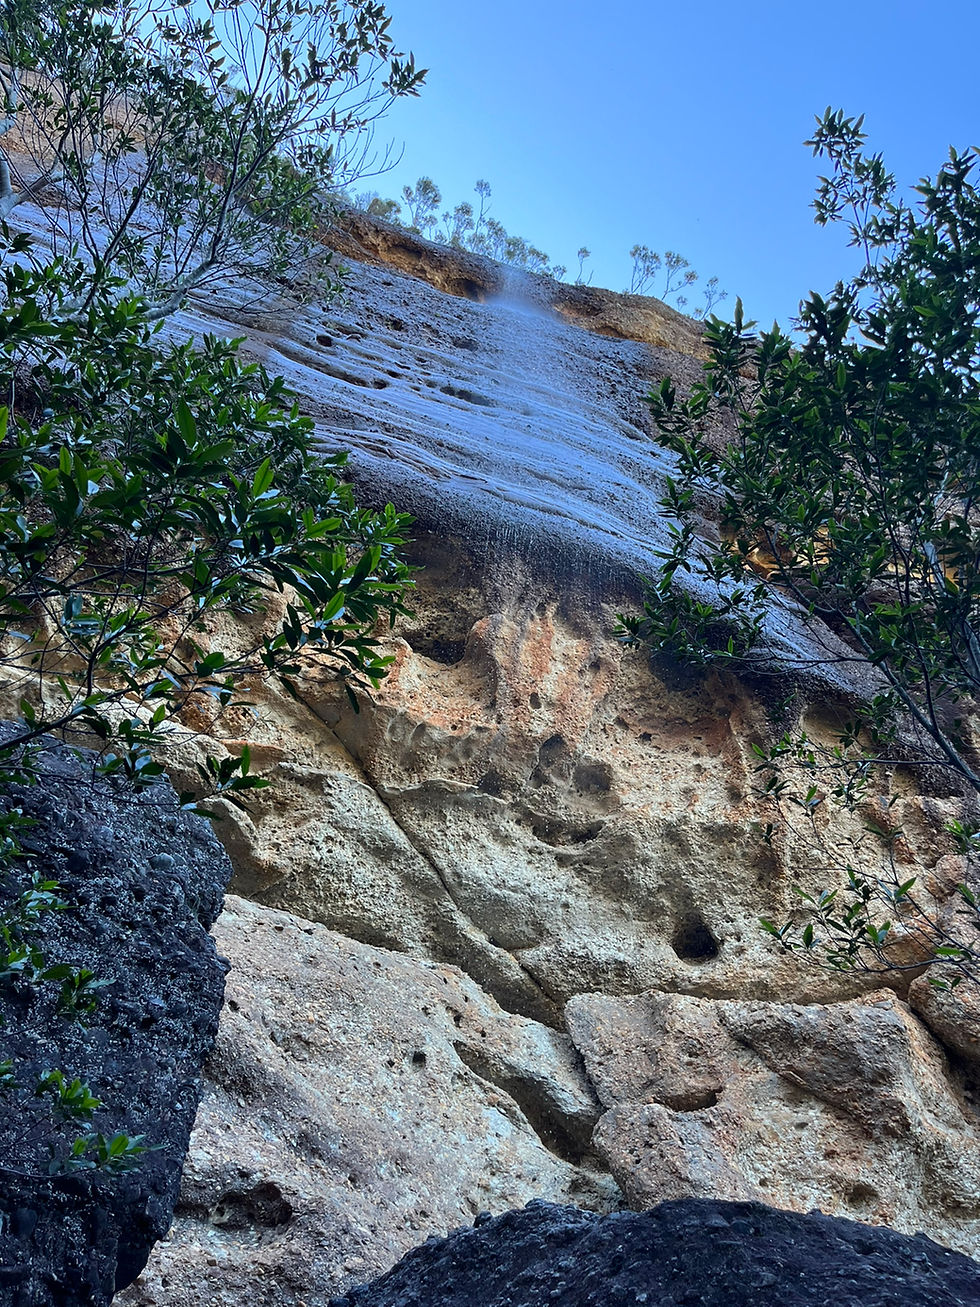
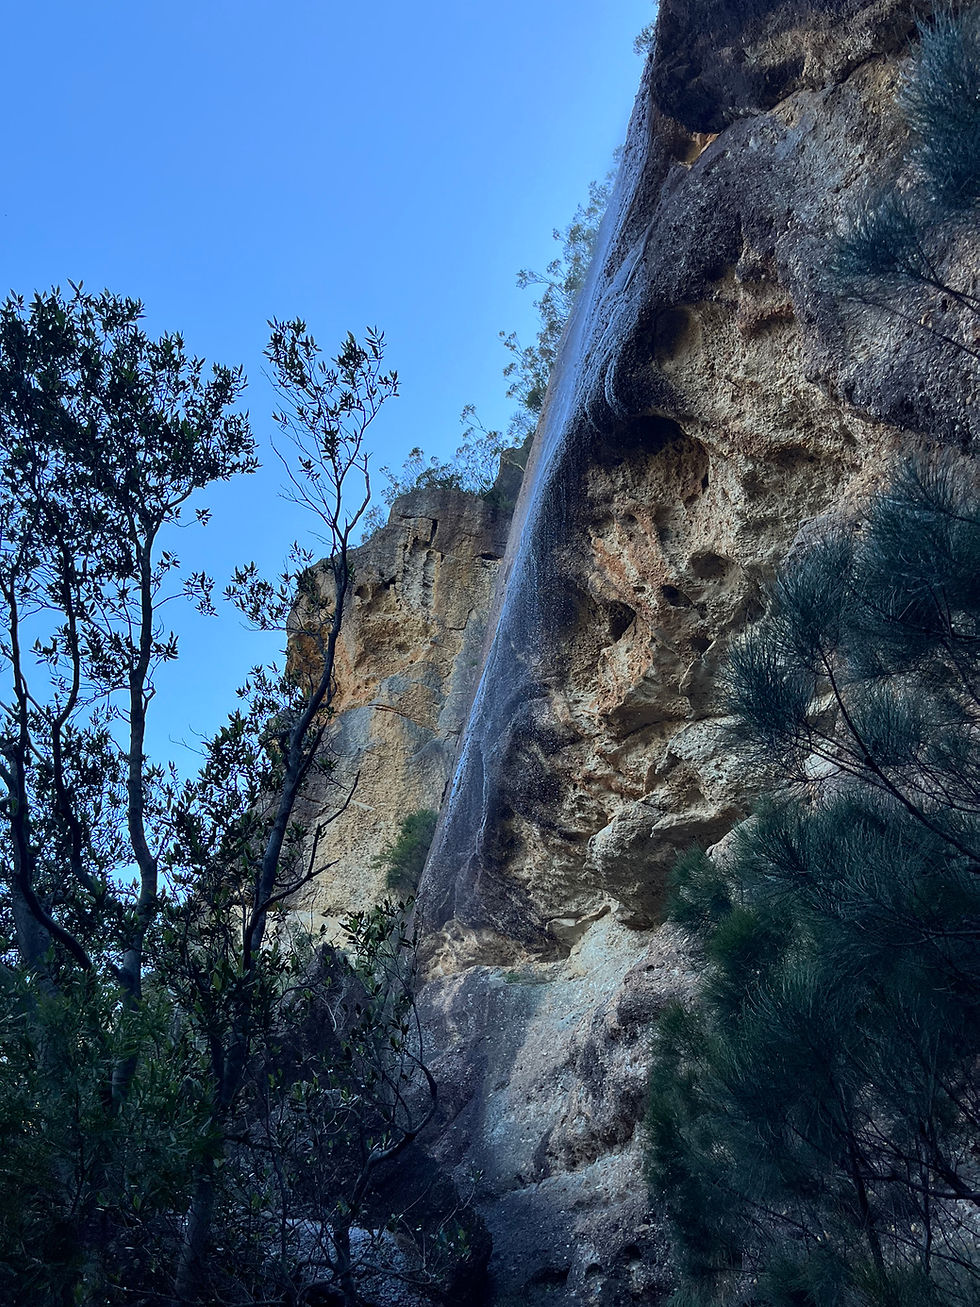
Now when I say waterfalls it might be exaggerated. It’s more like water dripping down the wall, but under 38 degrees and after several hours walking it will be much appreciated!


There are a couple of mini waterfalls along the way but you will notice one of them is slightly bigger and has some mini rock pools / puddles at its base. We took a long break there on the way down as the heat was at its maximum, and managed to top up our water bottles directly from the waterfall (and we didn’t even get sick!).

Section 3 – Through the Tunnel
From the last waterfall you need to hike up for quite a bit before you can see the entrance to the tunnel. This was one of my favorite parts of the hike as it offers unexpected views over the surrounding valley and the Budawang range.

First obstacle once you get to the tunnels’ entrance is to wiggle your body up a boulder by seating on the boulder and pushing off the opposite wall with your legs. A classic canyoning move that may seem tricky at first but gets easier the more you practice it.
Once at the top of the boulder you’ll need to squeeze through what is smartly called The Tunnel. You will probably need to take your backpack off your shoulders and carry it towards the bottom as the Tunnel is slightly wider at its bottom than its top. You will also need to squat down at times especially if you are a tall hiker.
Once you have gone through the tunnel there is a rope that will help you go down and reach a trail. Follow the trail to your right until you reach the NPWS signage that states NPWS takes no responsibility for the ropes and each hiker can decide to proceed at their own risk.
Section 4 – The Ropes
This is where the fun part starts!
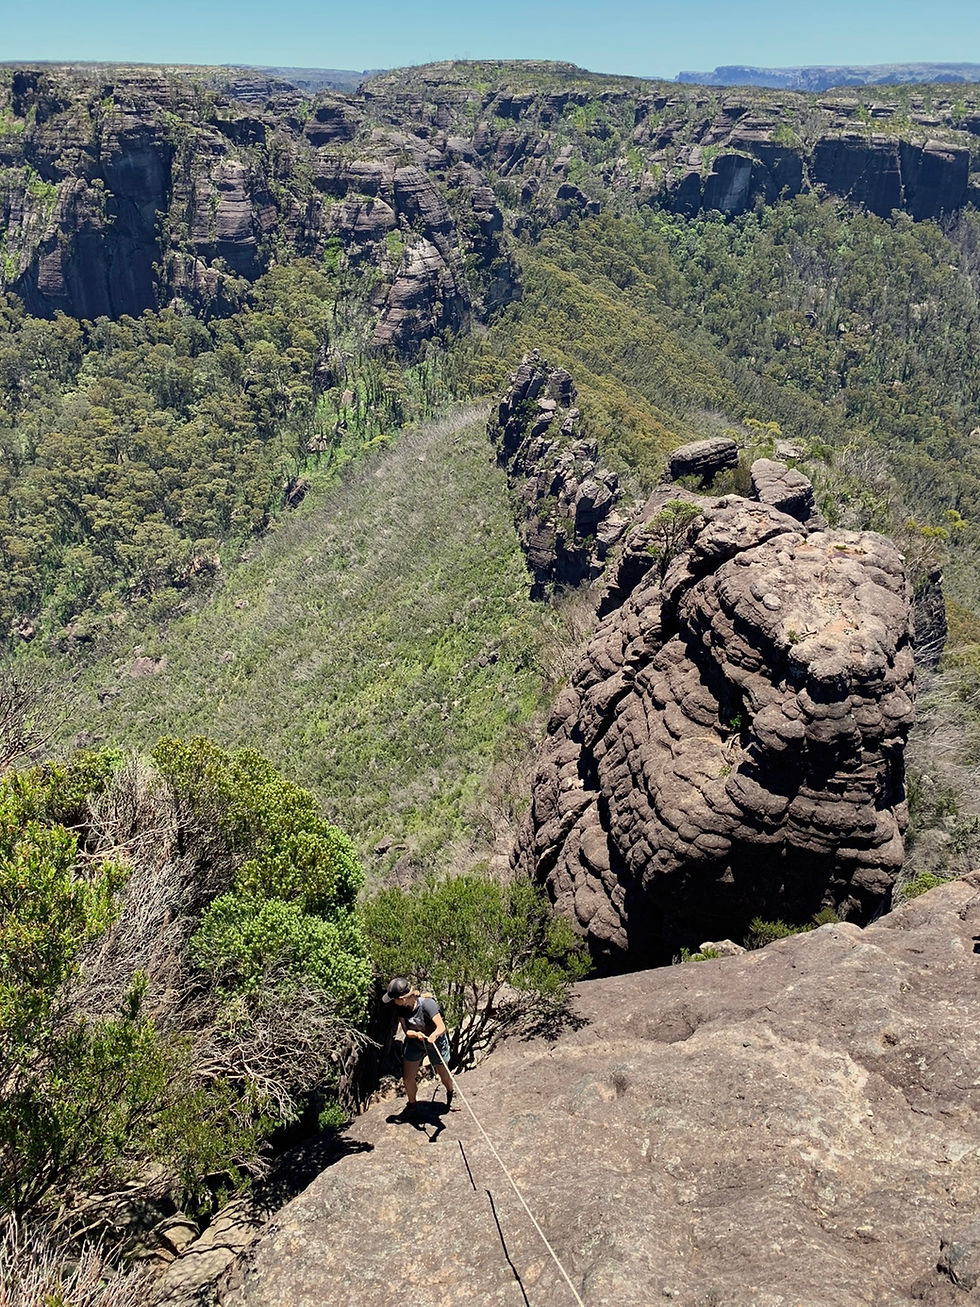
From the NPWS signage you have a series of three ropes that will help you go up to a boulder, then traverse awkwardly on that boulder and finally go up to reach the rest of the trail. The traverse part is a bit exposed and can feel impressive so just make sure you place your feet carefully, take your time and hold the rope at all times.

How to safely use the fixed ropes
When using a rope to climb up a slap or wall, or to traverse horizontally remember a few essential safety tips:
Make sure your arms and hands are completely free.
Place your feet flat on the rocks, trying to have your legs (and arms) as straight as possible. This will allow you to have more surface in contact with the rock and give you better stability. Your legs do not need to be vertical to climb up, and the more perpendicular you place them to the wall the easier it will be.
Take your time and breathe.
Climb one after the other and never two on the same rope, else when one of you drops the rope it can throw the other completely off balance.
If you are not comfortable with heights avoid looking down while on the rope as this will only distress you.
If you don’t feel it, don’t risk it. It is much better to bail and miss out on some of the hike than to end up in hospital.

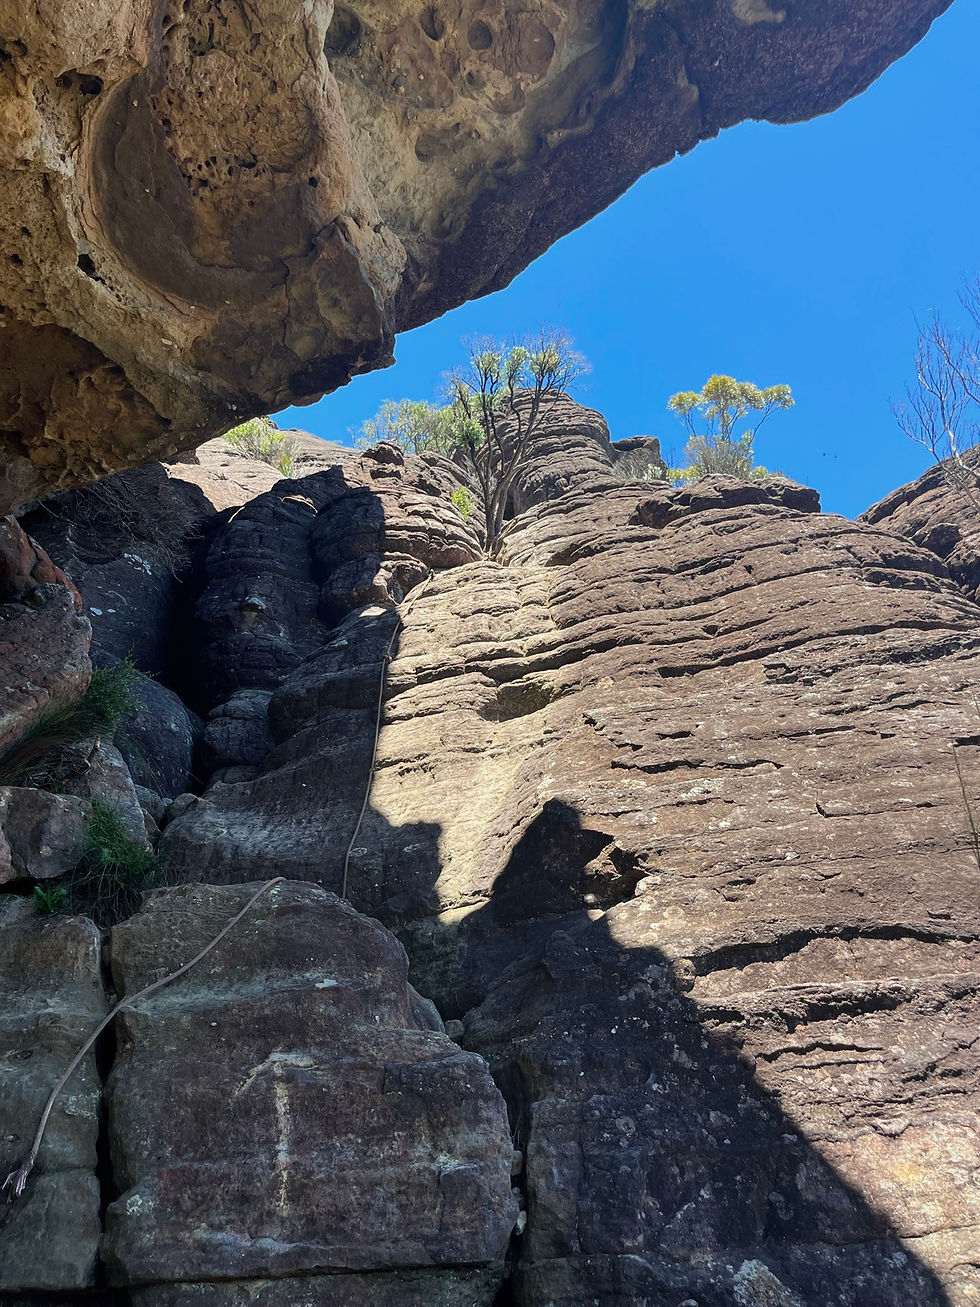
Once you pass the first ropes, there is a bit more rock scrambling and some navigation needed thanks to the white arrows, until you reach a little cave at the base of the Castle’s final stage, pictured here:

This is where I recommend having a good rest and maybe a little picnic.
Once you are rested and ready, and your hands are completely free with all your stuff secured in your backpack, it is time to start the final ascension. From that vertical white arrow there is a series of rope climbs that will help you gain elevation quite fast and reach the summit sooner than you may think!
Section 5 – At the top of the Castle
This is probably the part that surprised me most. I don't want to say too much and ruin the surprise for you but… wow! The summit or actually the plateau is so much bigger than I expected, and so different too. Wildflowers everywhere, 360 vistas all the way to the ocean. It simply takes your breath away.
You also get a VIP view of the nearby Pigeon House mountain which can be summitted via a shorter and much less technical hike East of the Castle. Also a great hike but that’s for another day!

Estimated time
Start to River crossing: 0h15
River crossing to waterfall: 1h15
Waterfall to Tunnel: 1h15
Tunnel to Ropes sequence: 0h45
Ropes to Top: 0h30
Total hike: at least 8h30 return including a 30min picnic break
Some Insider Tips
Insider tip #1: start early in the day if it’s a hot and sunny day… and bring heaps of water!
Insider tip #2: bring a towel, your feet will thank you for that after crossing the river

Where to stay
Great campsites around are Yadboro Flats and Long Gully, both accessible by road (although the road conditions need to be checked beforehand and if you do not have a 4WD I recommend only going after a long period of dry weather). There is also an option to stay at Cooyoyo which is a walk-in campsite, and do the hike over 2 days 1 night.
The Nitty Gritty
Distance: 12km but the elevation gain is 810m and the incline quite vertical at times so do not expect to beat any speed records here.
Housekeeping: there are toilets at Long Gully Campground – otherwise make sure you always follow the Leave No Trace principle.
Water: take heaps of water in Spring and Summer. It’s always best to carry too much water than not enough. If needed you can refill your water bottle at the waterfall but it takes a little while and your sensitive stomach might not love it. I would recommend taking at least 4L per person for the day if it’s over 28 degrees.
Estimated walking time: anywhere from 7 hours to 10 hours depending on how confident you are with ropes and rock scrambling, and how hot the day is. There is also an option to split the hike over 2 days and stay at Cooyoyo campground.
Difficulty: hard, not recommended for inexperienced hikers or people with fear of heights
Recommended gear: sturdee hiking boots, comfortable gear without too much loose fabric and a backpack to ensure your hands are free for the rope climbs.


Comments